|
|
|||
|
|||
Replacing Stock Mount With Custom Mount |
||||||
Stryker
Basics 2K Fun Stryker Build |
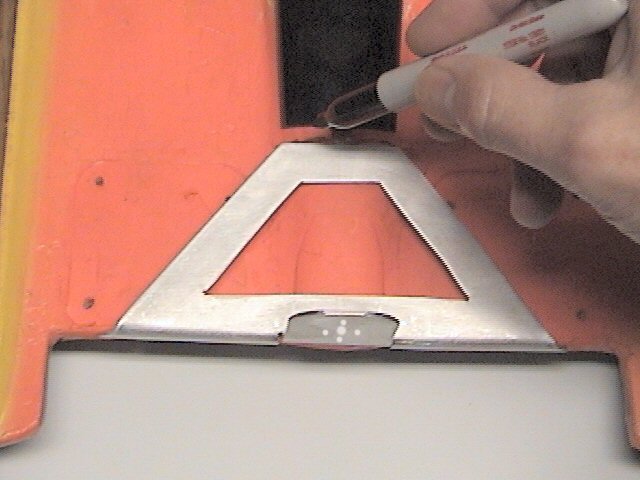
Lay the mount into position and make a mark on the foam hump, the small piece of foam needs to be removed for a flat surface.
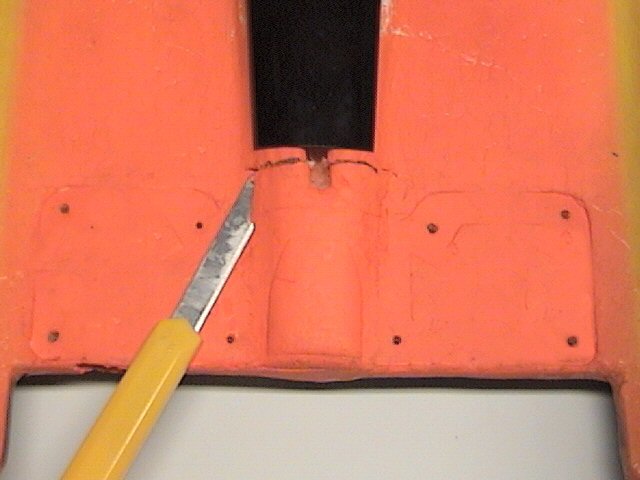
To remove the foam from plane use a long cutting blade on its side so its laying flat on mount deck then cut across the foam hump. Tip: Pick up an adjustable length cutting knife, you can get them with thick or thin break away blades. I prefer the Thin 2-1/2" long blades because they are more flexible (bendable) and my most used tool for foam cutting.
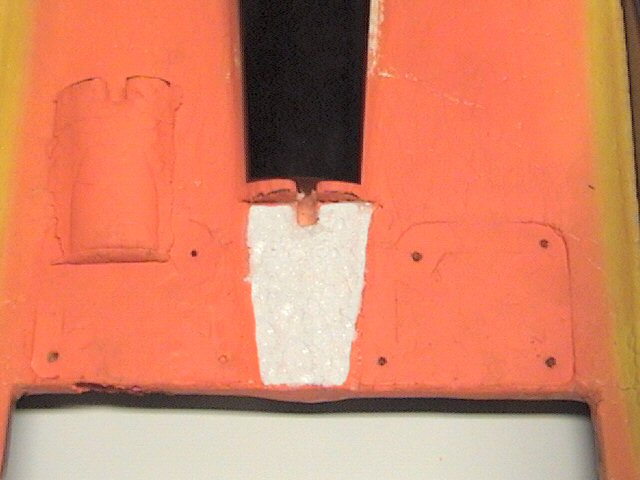
After removing the foam hump the area needs to be sanded flat and to also remove any paint, epoxy doesn't stick very well to painted foam surfaces.
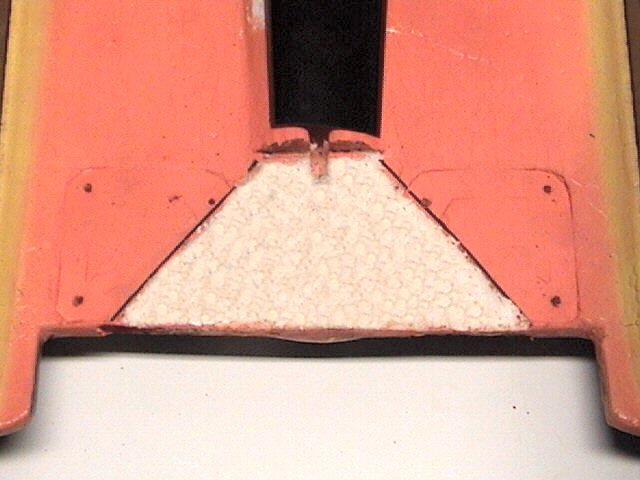
Lay the mount into position and draw a mark around it. Staying in the lines sand it down to bare foam if its already painted. Using a palm sander on an angle works best and makes nice straight lines. On a new un-painted fuse you wont need to do this. Its just to remove any paint so epoxy will stick.
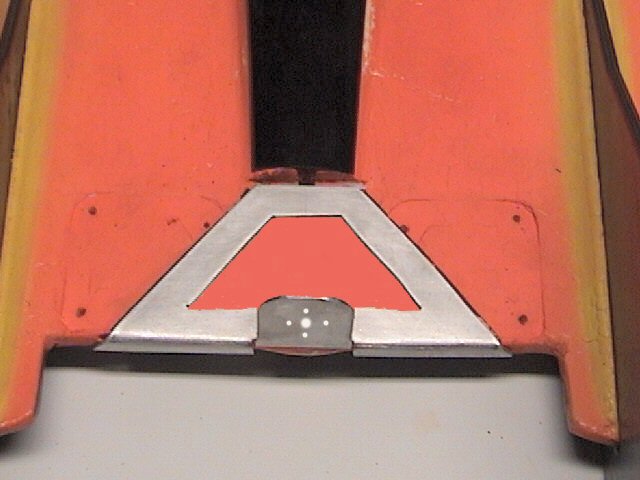
The aluminum mount should be scuffed up with a file or heavy sand paper cuz epoxy dont like to stick very well to smooth polished surfaces. Using epoxy ( I used 5 min epoxy) coat the whole bottom of mount and press it into position. After the glue dries you can paint the exposed white foam in center and any holes from old stock mounts can be spackled over and painted as well.
This is just a demo mount on an old plane so it wasnt glued on but you get the idea :)
|
|||||
Contact
© 2005-2014 2KOOL4U.com