|
|
|||
|
|||
Beyond Battery Basics 2 |
||||||
Stryker
Basics 2K Fun Stryker Build |
DO NOT
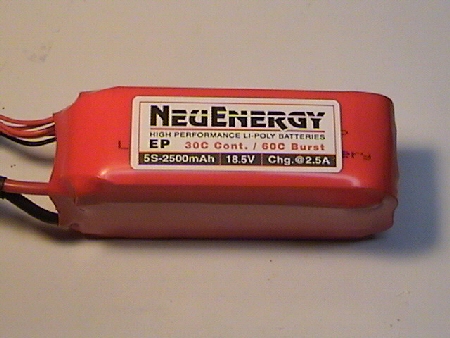
What you will need to buy: Foot or two of Red & Black 14 gauge silicon wire. Balance Adaptor for each pack. Shrink wrap for each pack. Aluminum Flux and Zinc Solder. Total price around $20
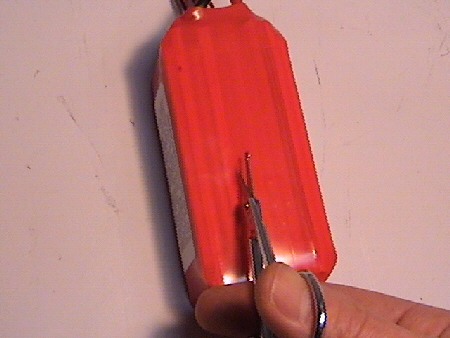
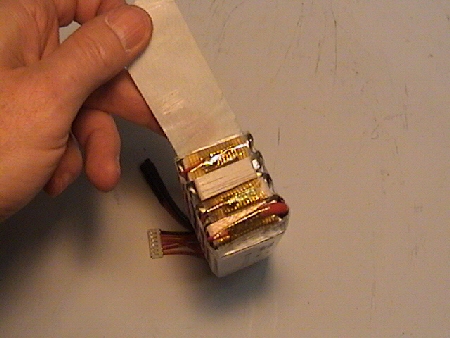
I used scissors with rounded ends to help avoid cutting or poking the foil of cells beneath. Find a gap between the cells and slightly lift upwards as you push scissors thru to opposite end to remove the outter shell.
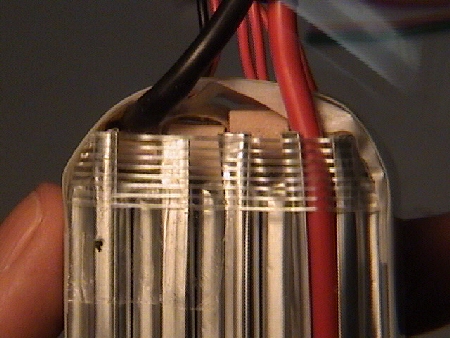
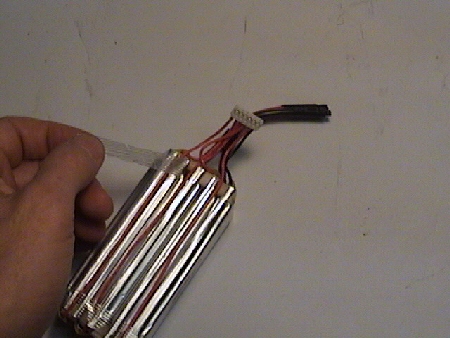
Heres a look at the bare cells.
You may find tape around cells holding everything together that will need to be removed.
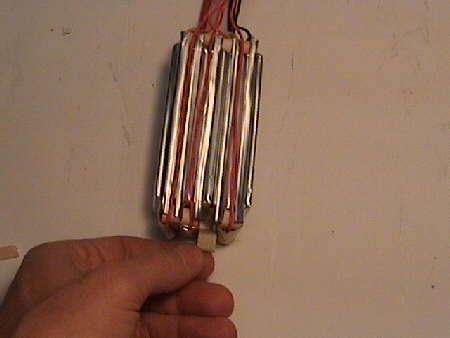
Note the small balsa blocks between each of the cells at top and bottom of pack.
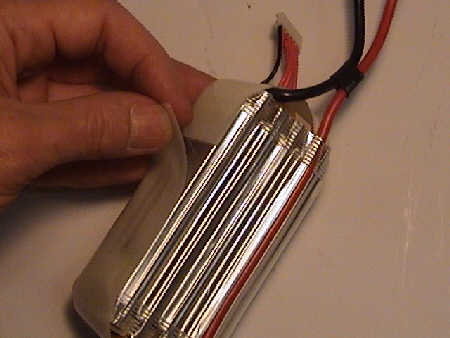
The plastic tape band that runs around pack will be stuck to foil on cells so it needs to be taken off slowly to avoid tearing the thin foil on cells.
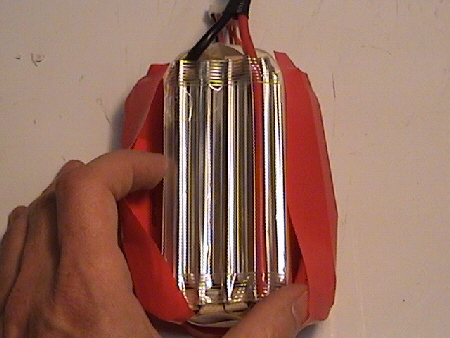
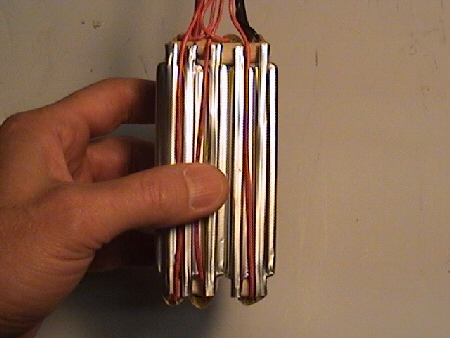
Lifting the tape uncovering the guts of this project.
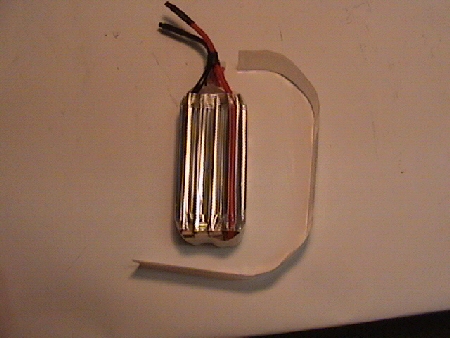
Here you can get a better look at the balsa blocks
Lifting tape uncovering the bottom of pack
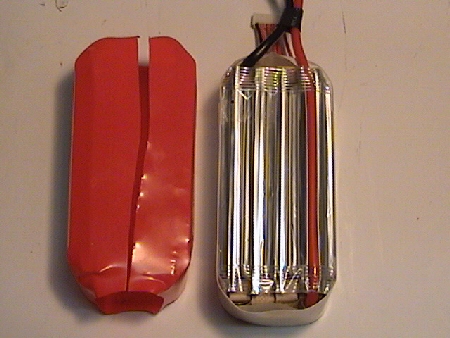
Little more tape to be removed and the pack can be split.
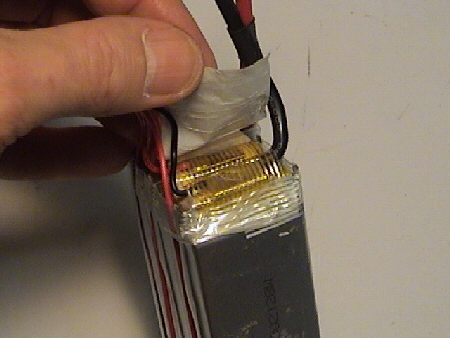
Before going further we should talk about how cells work. If you look closely at the outer cells you will see a (+) and (-) imprinted on the foil cells. One important thing to remember is on every pack the cells connect + to - OR - to + so NEVER put two of the same together. See: Diagram Being we want only 3 cells from this 5 cell pack I needed to find a point to break them apart. All the cells are connected to each other either at top or bottom so I found a spot between 3rd and 4th cells where the cells dont connect on bottom. Here I removed the balsa block that fills the gap.
With wood block removed I then slowly tried to pull the bottom apart by hand just enough to make a thin gap
|
|||||
Contact
© 2005-2014 2KOOL4U.com